No matter the time of day or year, more often than not you’ll find me in a cotton top in some shape or form. I sleep in them, run in them, travel in them, sip coffee by day and wine by night in them, romp through the park with the dog and kiddos in them… you get the picture. I often cry toddler when explaining why I can’t seem to get out of my cottons, but truth be told even before the boys arrived I regularly frequented the dry cleaner to clean up many a self-inflicted chocolate and red wine stains, so wash-friendly cottons have always had more longevity in my wardrobe. Of course now with the children I am maybe enjoying even more chocolate and more red wine than ever… so add in two sets of little hands and the odds of remaining stain-free are never, ever in my favor.
 Fortunately, I am a-okay with this. Now that I am at home and basically dress in what I would have previously considered “weekend wear” on a daily basis, I have full-heartedly embraced cotton tops in every way. Tee shirts in the summer, long sleeve tee’s in the spring and fall, and cotton knits in the winter… I’m all in. And of course, the options of the cotton top go far beyond that of the infamous plain white tee. In my cotton shirt drawer you’ll find shirts in all shades of red, blue, green, yellow, greys, off-whites, black, and stripes.


 While I quite love a plain tee shirt, I’m also very fond of destination and cheeky slogan shirts. Perhaps more suitable for a tween, but I think they can be a fun way to incorporate your personality into your wardrobe albeit in a slightly corny way. Not to mention, they’re also great sartorial keepsakes in the form of a tourist t-shirt which is always my souvenir of choice when traveling. In this case however, more often than not your options are the standard Fruit of the Loom fare, which essentially limits the top to only the most casual of settings (i.e… the beach, exercising, the living room sofa.)

 I found myself in this predicament last summer when the Mister and I were browsing the goods section after an especially rockin’ Coldplay concert. After the insane light show and gripping performance, I was terribly dissapointed to find the most basic t-shirt selection ever in the venue’s shop stalls after the show. Determined to not go home without some memorabilia, the Mister got me a plain navy adult-size-tee with the Coldplay logo in the center. Resolved to make the most of my stiff as bricks cotton t-shirt, I ordered some fabric scissors off Amazon and two-days later I got to shearing. With some trimmings off the sleeves and hemline I turned the very dull shirt into a much more wearable and lively top.


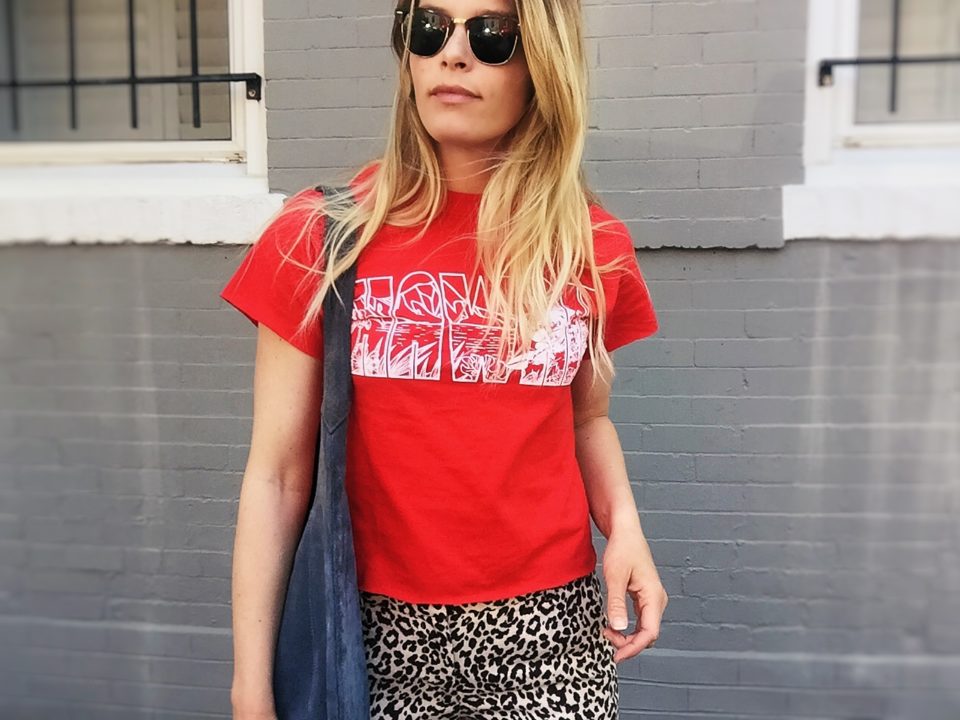
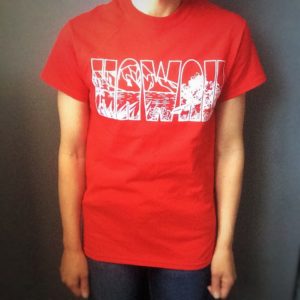
 Bringing me to this hot red number my world traveling mother brought me from a trip last winter. As I was unpacking my summer clothes I came across this Hawaii tee and decided it was time to give it some love. I hadn’t worn it yet because it wasn’t loose enough to work out in and didn’t fit quite right for my other casual clothes either. During some recent online browsing I spotted a red and white slogan t-shirt paired with leopard pants that I just couldn’t get out of my head, and this Hawaii t-shirt had the same color scheme but with much more groovier vibes (thanks Mom!) than the one I had originally seen. I have been wanting more mid-length shirts to wear un-tucked with high-rise bottoms, so I decided I would trim this shirt up to be exactly that. Another added bonus of making a cut-off cotton t-shirt is that by removing the narrow fitted bottom and hem, the rest of the material loosens up instantly creating a more lived in feel.

This is an extremely basic DIY project, but with the right shirt it can be a real game changer! Here is my very quick and easy guide for the cotton tee makeover:
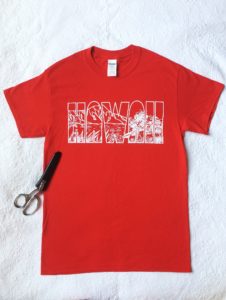
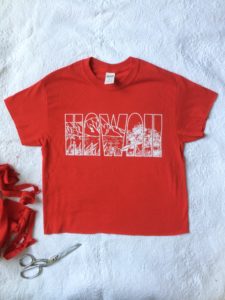
Tools:
- T-shirt
- Fabric shears
- Sharpie marker
Directions:
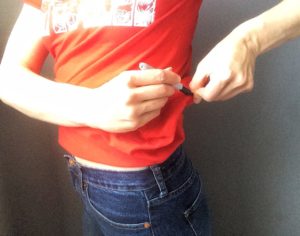
Put t-shirt on.
Roll sleeves and shirt length up and outwards to desired lengths. Keep in mind trimmed edges will roll slightly, so take that into account when deciding on where to cut. Go longer if you’re unsure as you can always go back and trim up more.
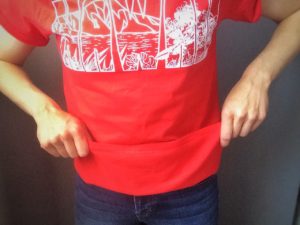
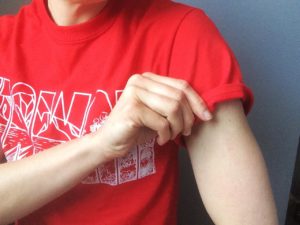
Use sharpie to make dots along the edges of the bottom and sleeve folds. Make sure you only mark on the inside of shirt to keep from getting ink on the fabric you’re keeping.
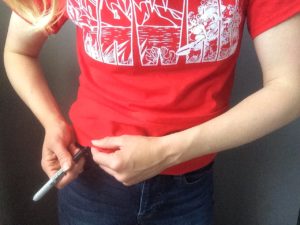
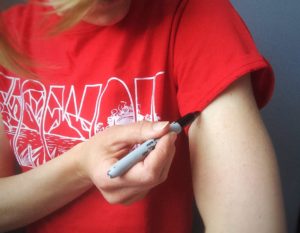
Make sure to get a few dots in the back center and along the sides by reaching behind, pinching a section of the fold, and pulling it towards your pens reach to get an accurate dot.
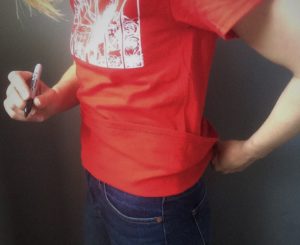
Pull shirt off, lay out flat inside out and fill in dots along sleeve and bottom edges to make guide lines for cutting.
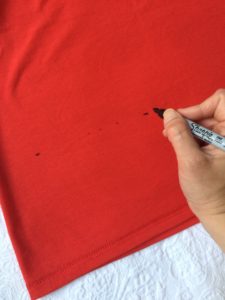
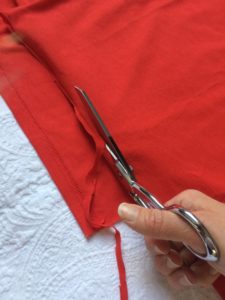
Take fabric sheers and from the center cup up to dotted line and cut across the line goingand then cut along both edges. Repeat in the back of the shirt.

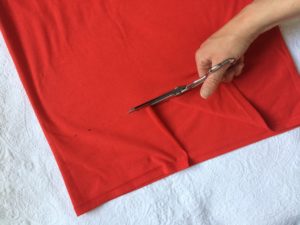
Repeat step 6 and cut across dotted lines on shirt sleeves.
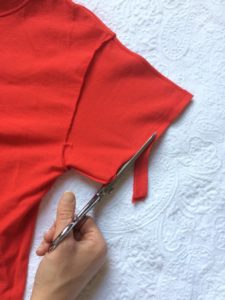
If the edges need to be straightened, make touch ups along the cut off.
And Voila, you have a new shirt!

Lastly… if you’re into headbands the left over trimmings from the t-shirt make for a great DIY headband…

Directions:
Take fabric cut off from the bottom of tee shirt and lay flat.
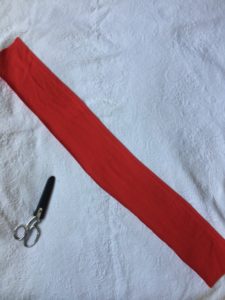
Cut fabric in half length-wise.
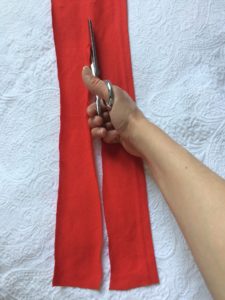
Using fabric with original tee shirt seam, fold in half length-wise and pull simple knot leaving a tail of about 4-5 inches
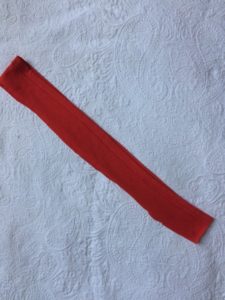
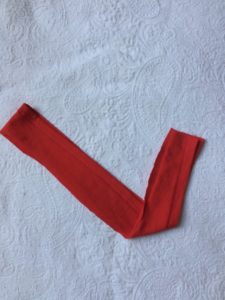
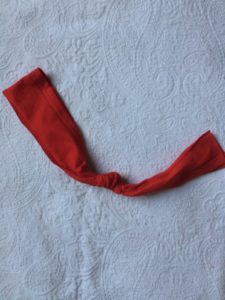
Fabric will stretch, but try headband on and adjust knot to desired size.
Aloha! Xo
